Did you know you can convert images to PDF format right from your iPhone or iPad? The options are not very obvious, but the feature is very much there. We present to you five techniques to convert PNGs, JPGs, downloaded images, screenshots directly to PDF with the help of your best friend—your iPhone!
TABLE OF CONTENTS
- 1 How to Convert Picture to PDF on iPhone using Print Option
- 2 Save Photos as PDF on iPhone by Copying to Books App
- 3 Convert Images as PDF on iPhone and iPad using Files App
- 4 Convert Photos to PDF using the Picture to PDF Shortcut for Shortcuts App
- 5 Third-party App to Save Photos as PDF on iPhone and iPad
- 6 Conclusion
How to Convert Picture to PDF on iPhone using Print Option
From the instructions mentioned below, you might think it is related to printing. However, converting an image to PDF on iPhone does not require printing a picture. Here is what it does include:
- Open the Photos app on your iPhone or iPad.
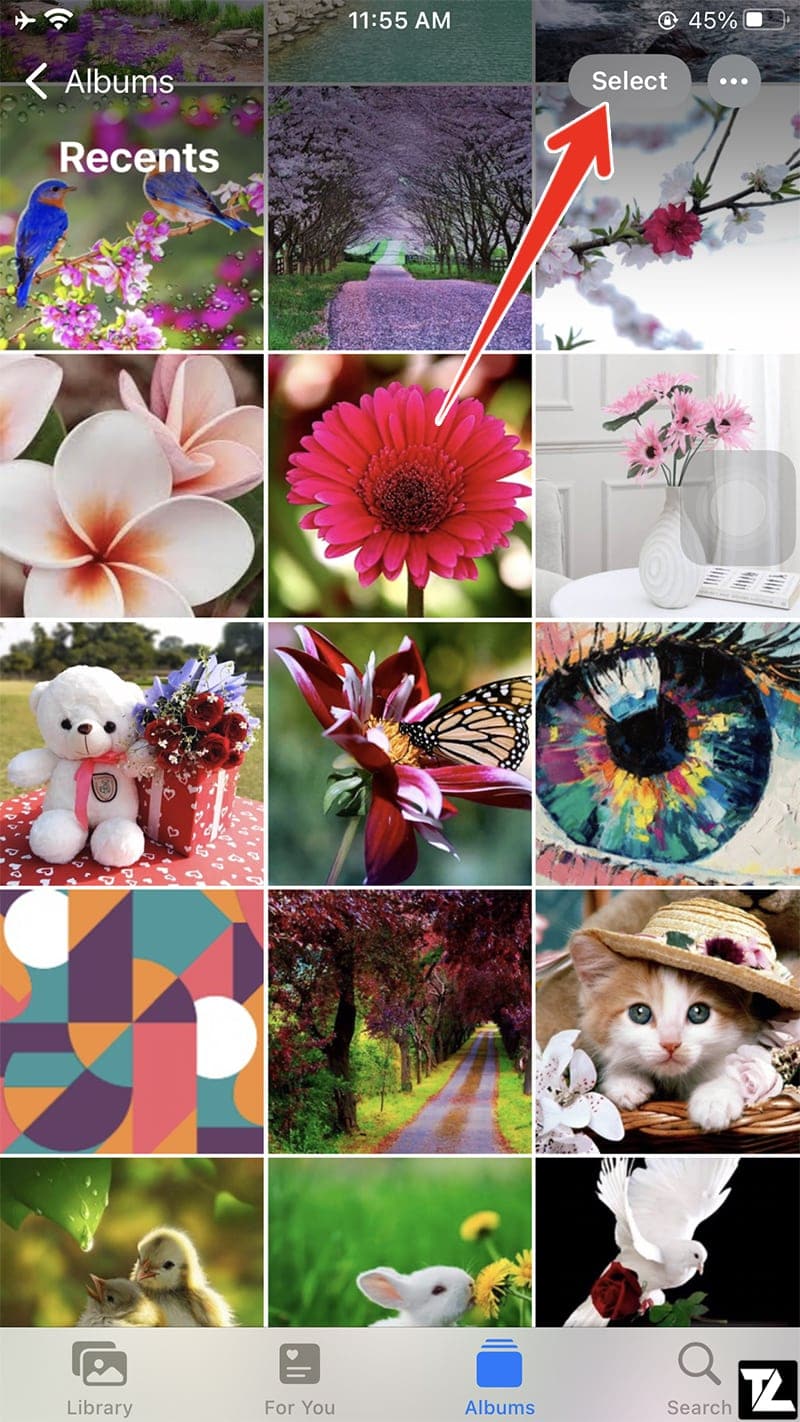
- Tap on Albums.
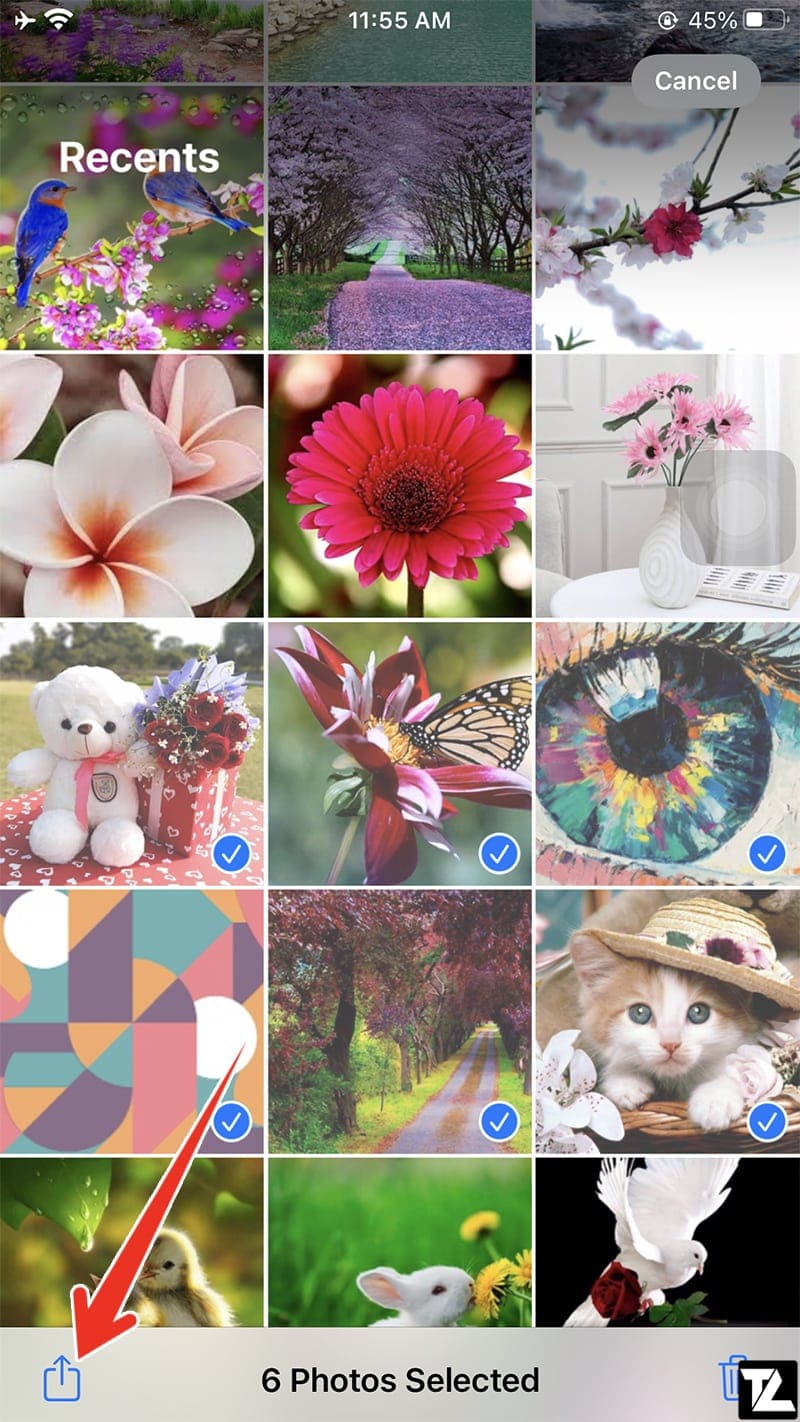
- Tap on Select in the upper right corner and choose one or multiple pictures you wish to convert.

iOS Photos Select Option 
Select Photos in iOS - Tap on the Share icon.
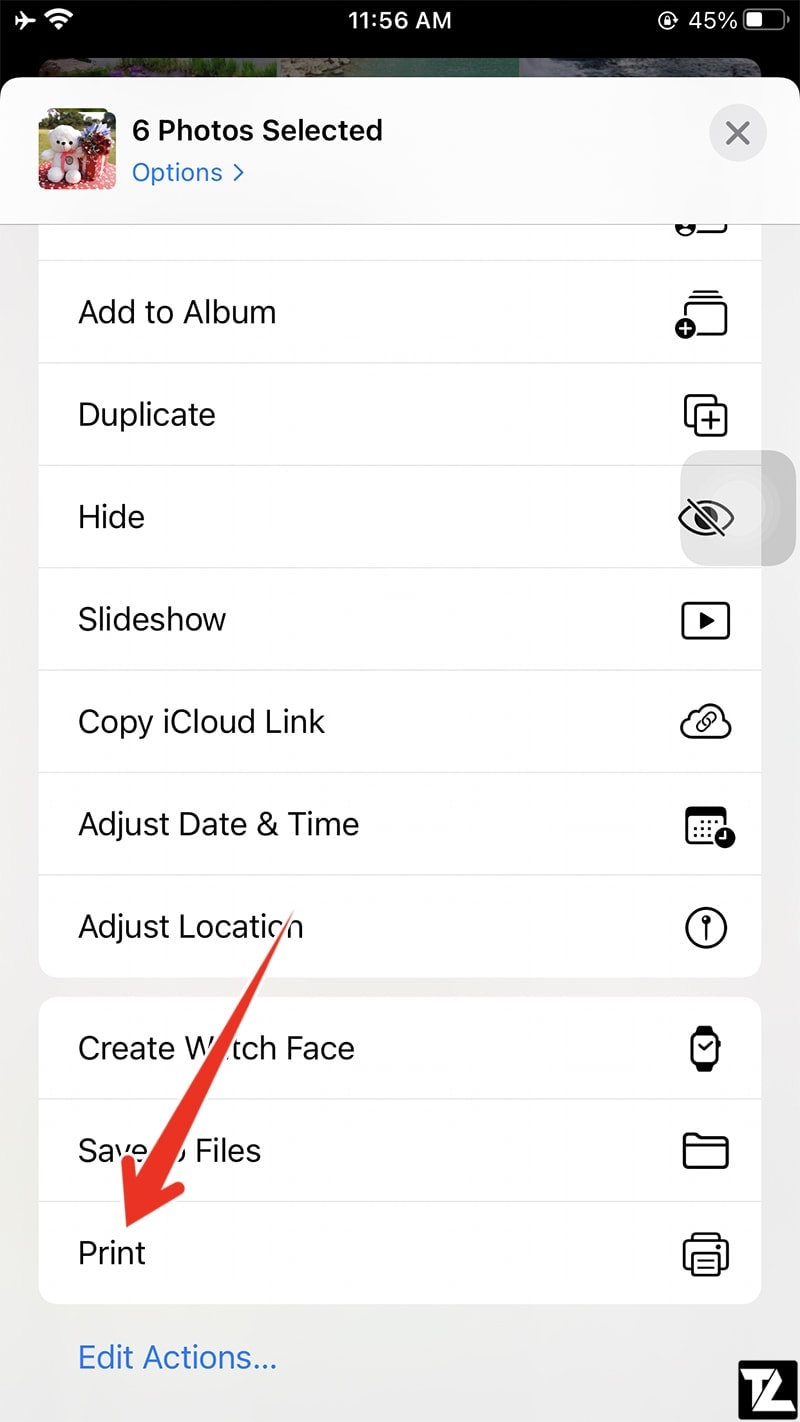
- Choose Print from the Share Sheet menu.
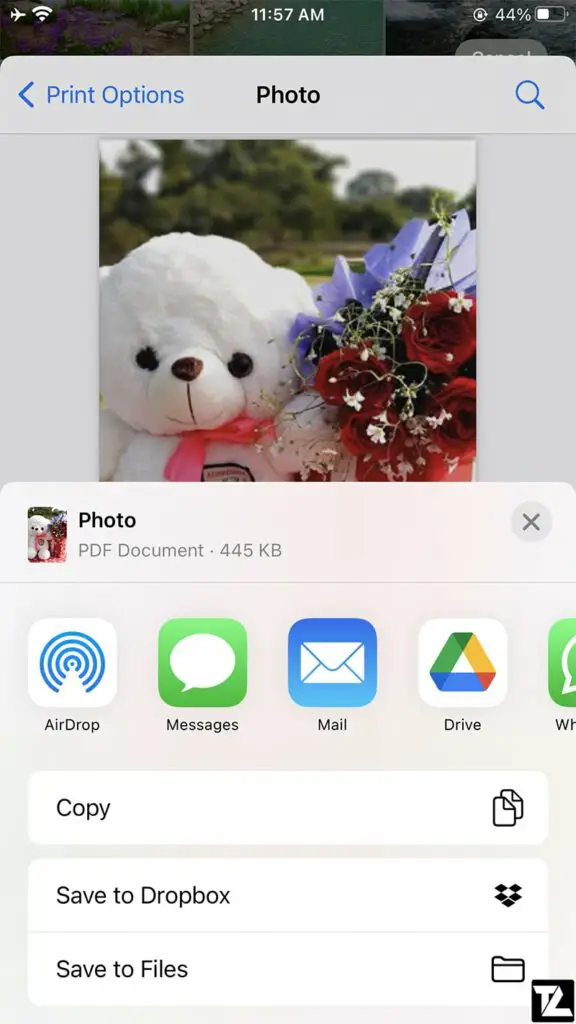
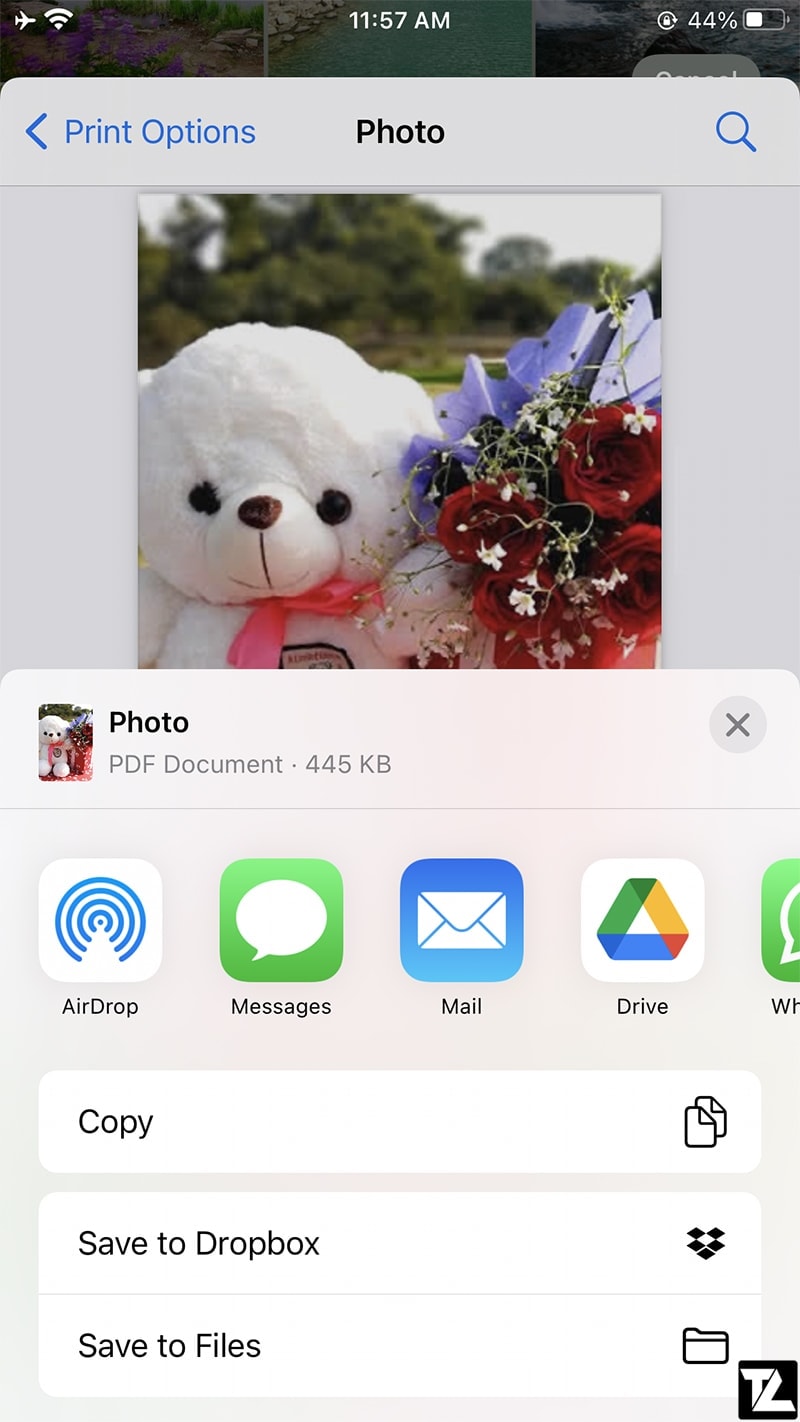
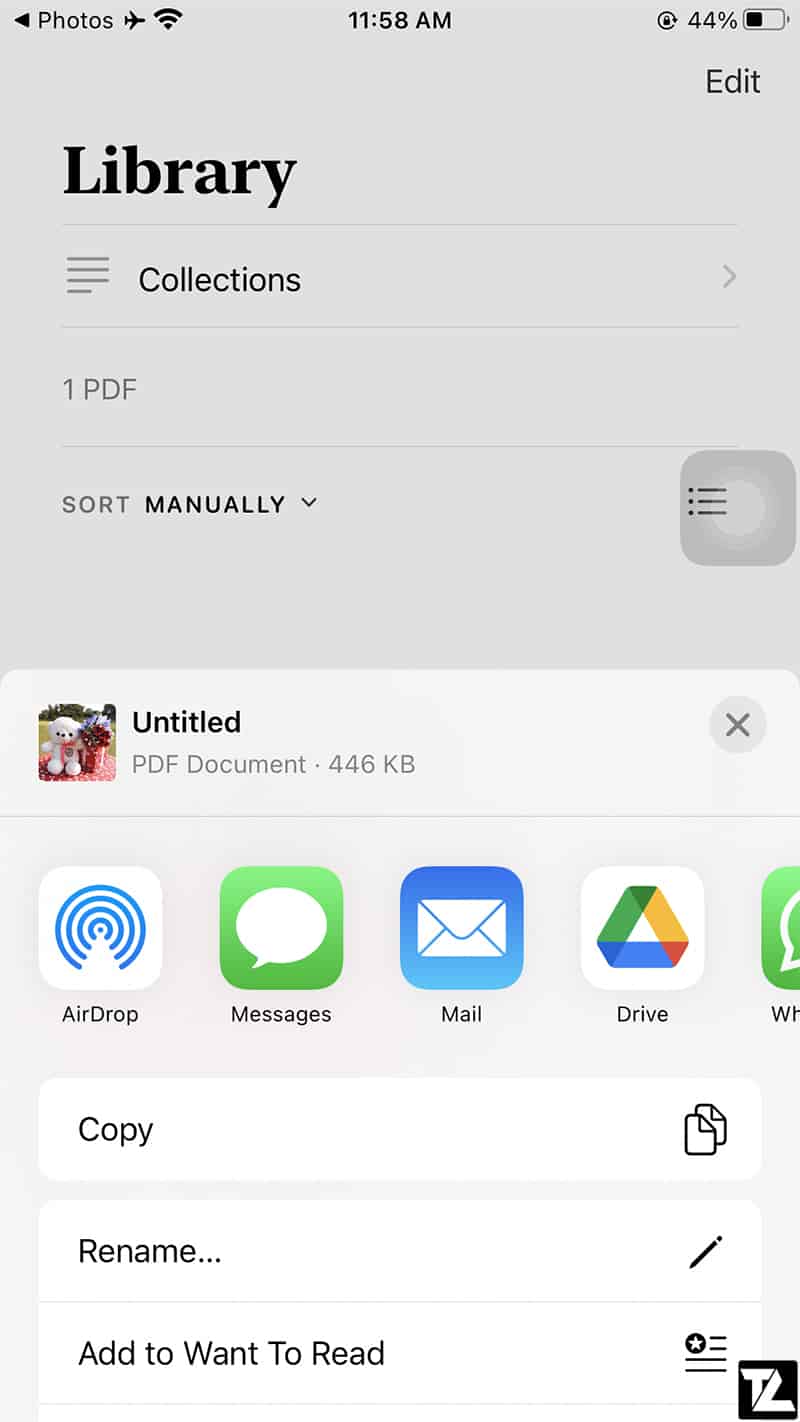
- Now use two fingers on the photo preview and pinch outwards to save the photo as a PDF.
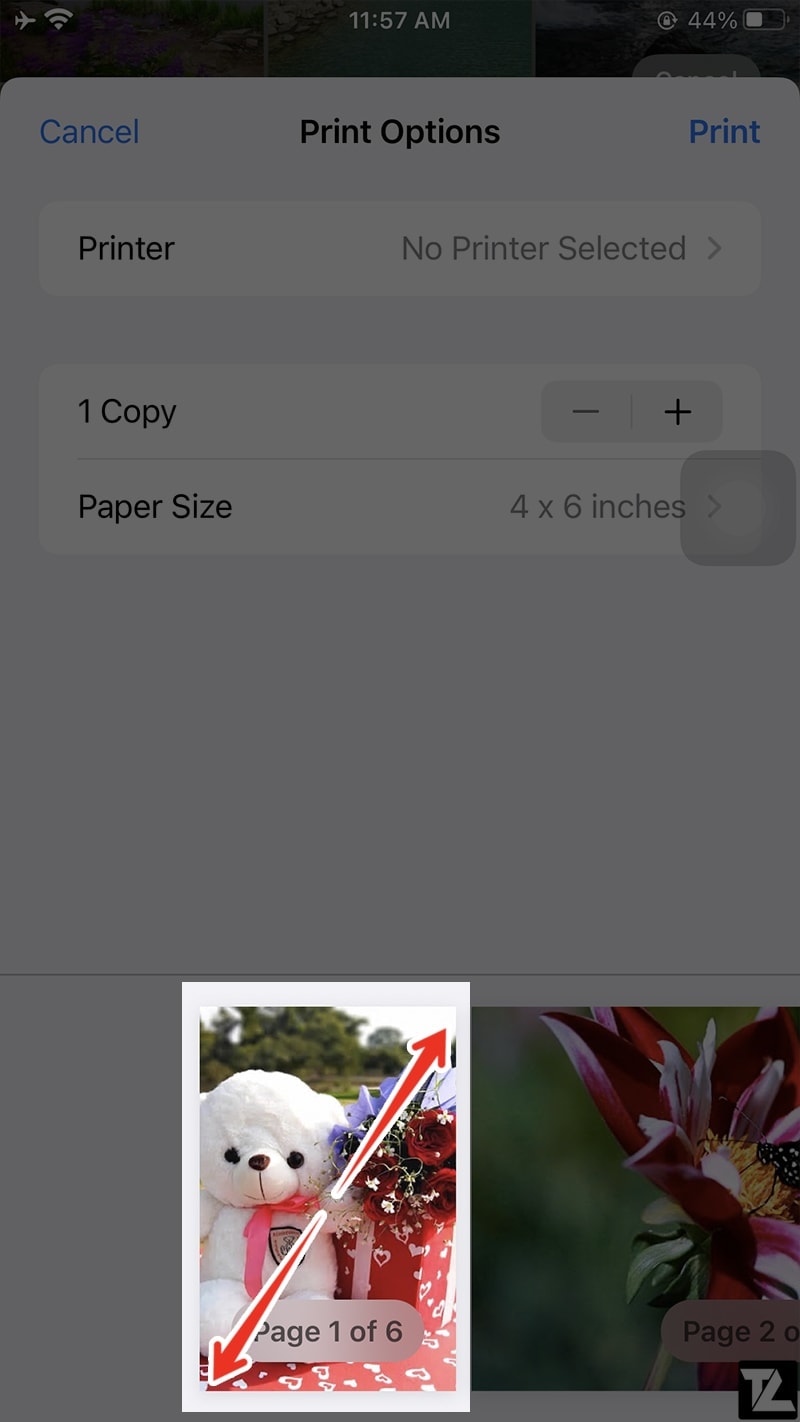
- After you have pinched out the picture, click on the Share icon to share the PDF with anyone you want.


Save Photos as PDF on iPhone by Copying to Books App
The following process regarding saving photos as PDF on iPhone involves sharing the pictures to the Apple Book application. The process is straightforward, and you can do it with your eyes closed. The pictures will be saved automatically. Furthermore, the pictures are accessible from all iOS devices since they are synced with iCloud.
- Begin the process by opening the Photos application on your iPhone or iPad.
- Choose the picture you wish to convert.
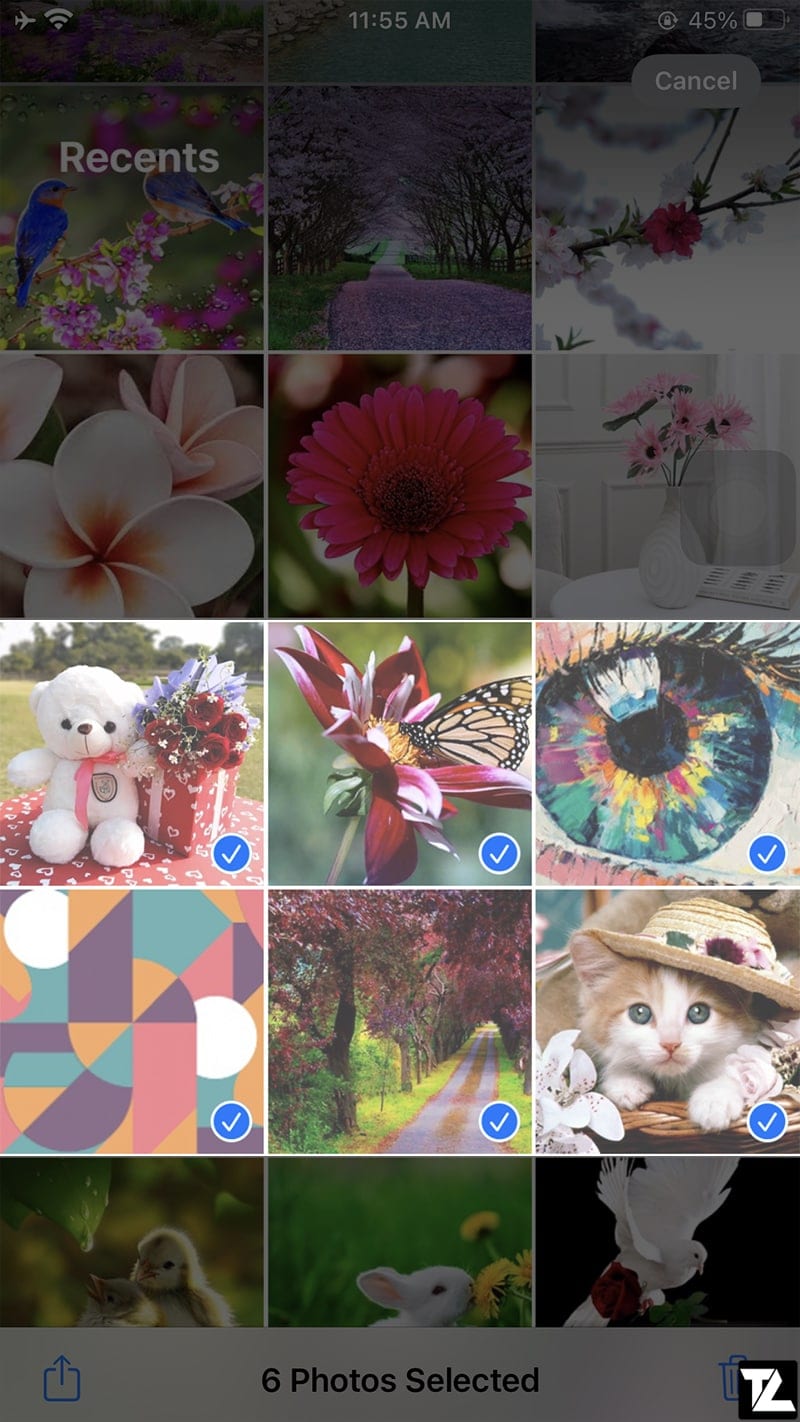
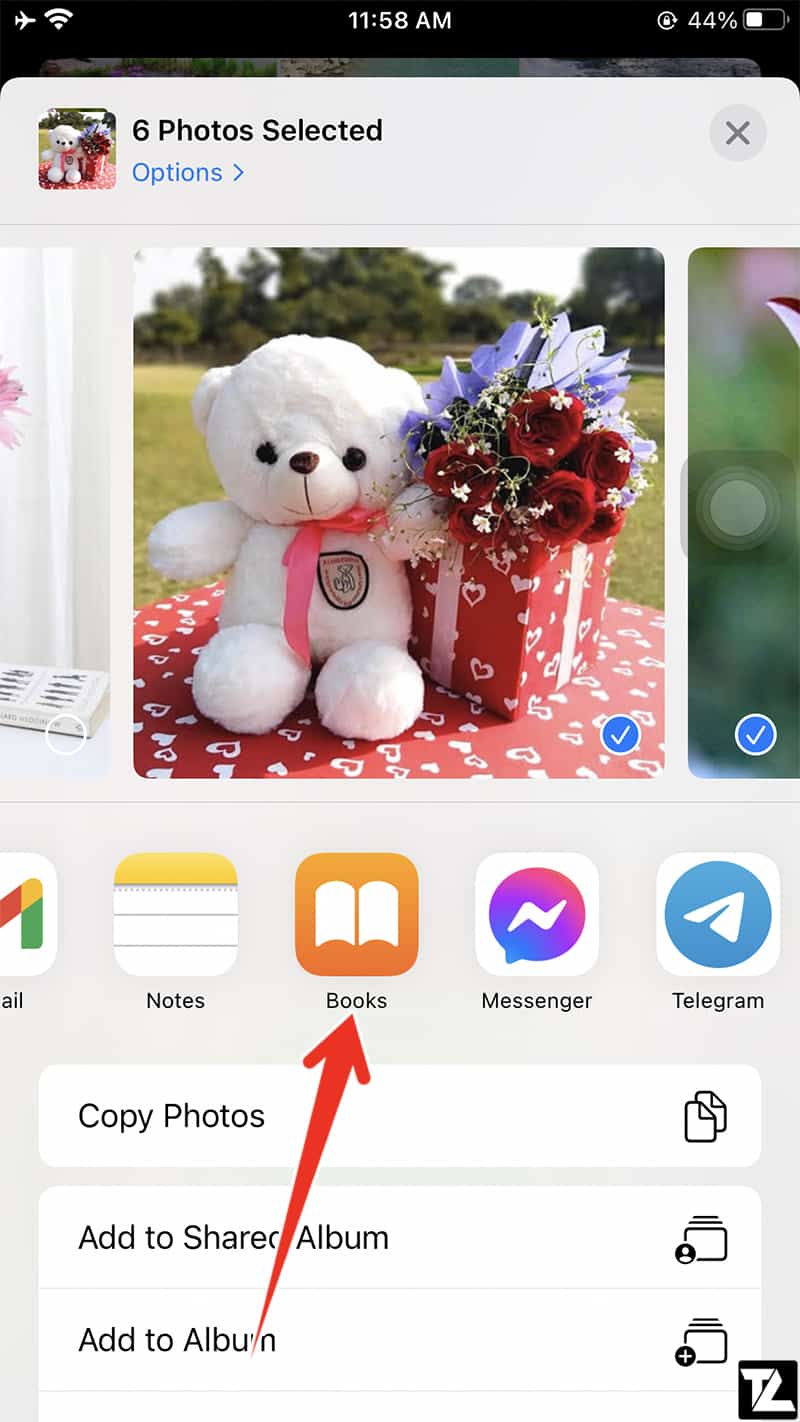
- If you wish to convert numerous pictures, go to selection mode. Select the pictures and then click on the Share icon. You can skip this step if there is only one picture.
iOS Photos Select Option
Select Photos in iOS - Now from the Share Sheet context menu, tap on Books. The option is present on the top row.
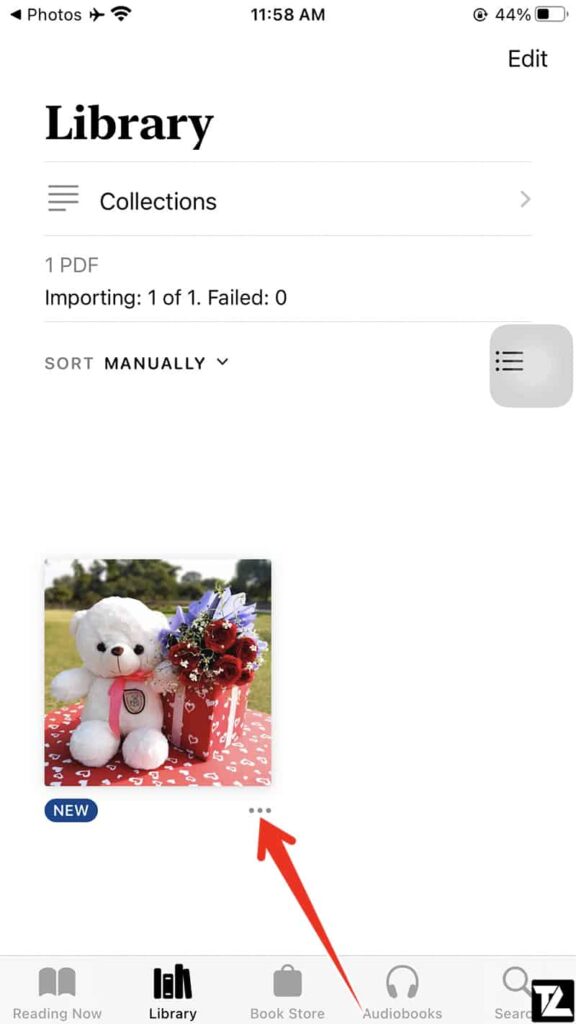
- The photos will be automatically converted to PDF and open in the Books app.
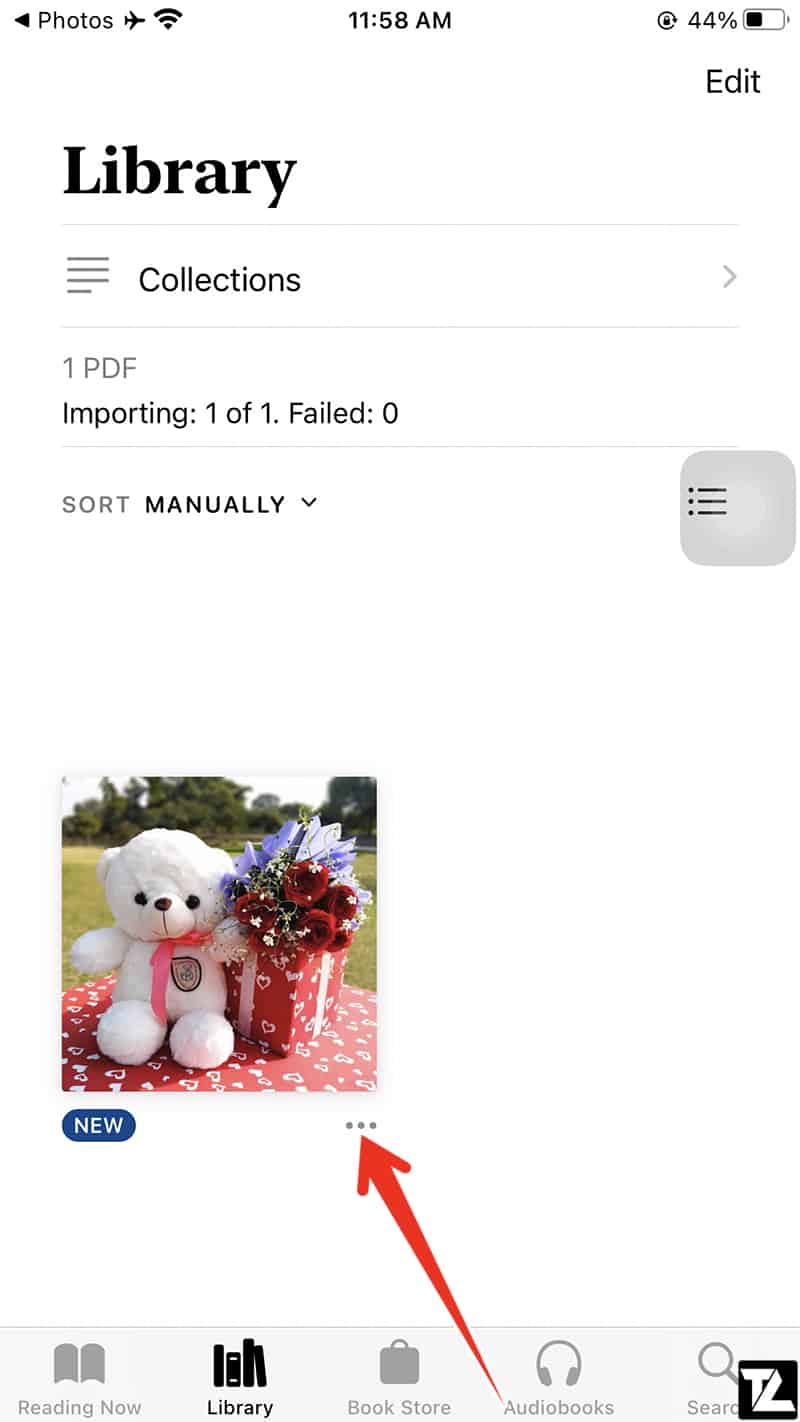
- Tap the screen and tap on the back arrow to go back to the Books app Library.

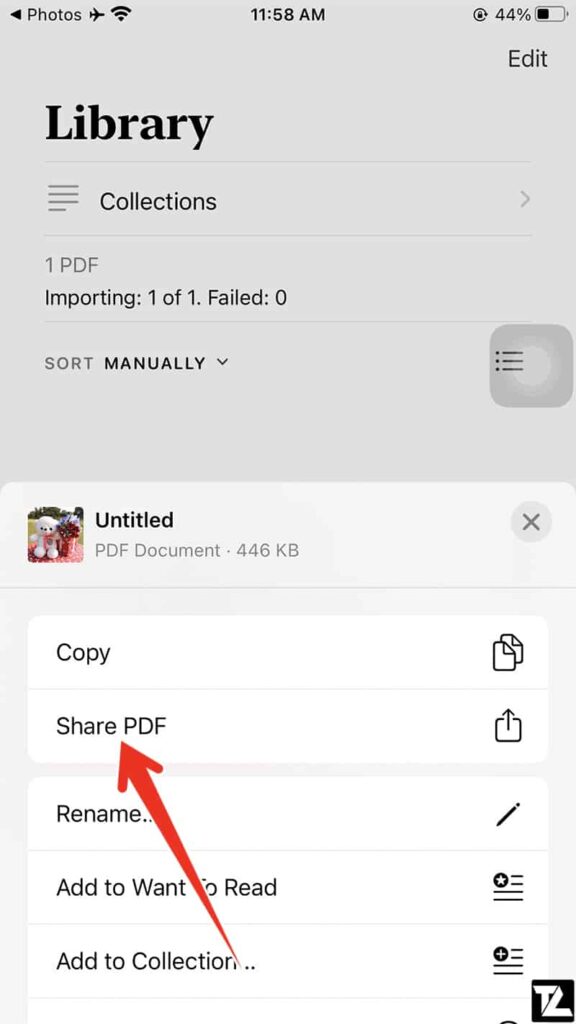
- Tap More (three dots) and choose Share PDF and share the PDF file with anyone you want.


Convert Images as PDF on iPhone and iPad using Files App
Some iPhone users are not fans of the share menu. It can be confusing, and sometimes, we don’t see the correct option right in front of us. Therefore, if you wish to circumnavigate the share sheet, converting photos to PDF on iPhone through the Files application may be for you.
Choosing this option will result in not interacting with the share menu. Yet, the pictures will be automatically saved in the same pathway as the original. However, this procedure only works for downloaded photos and scanned documents as they are accessible from the Files app.
Since the Photos library is not accessible from the Files app, you have to save the photos that you wish to convert to PDF to the Files app.
Single Image
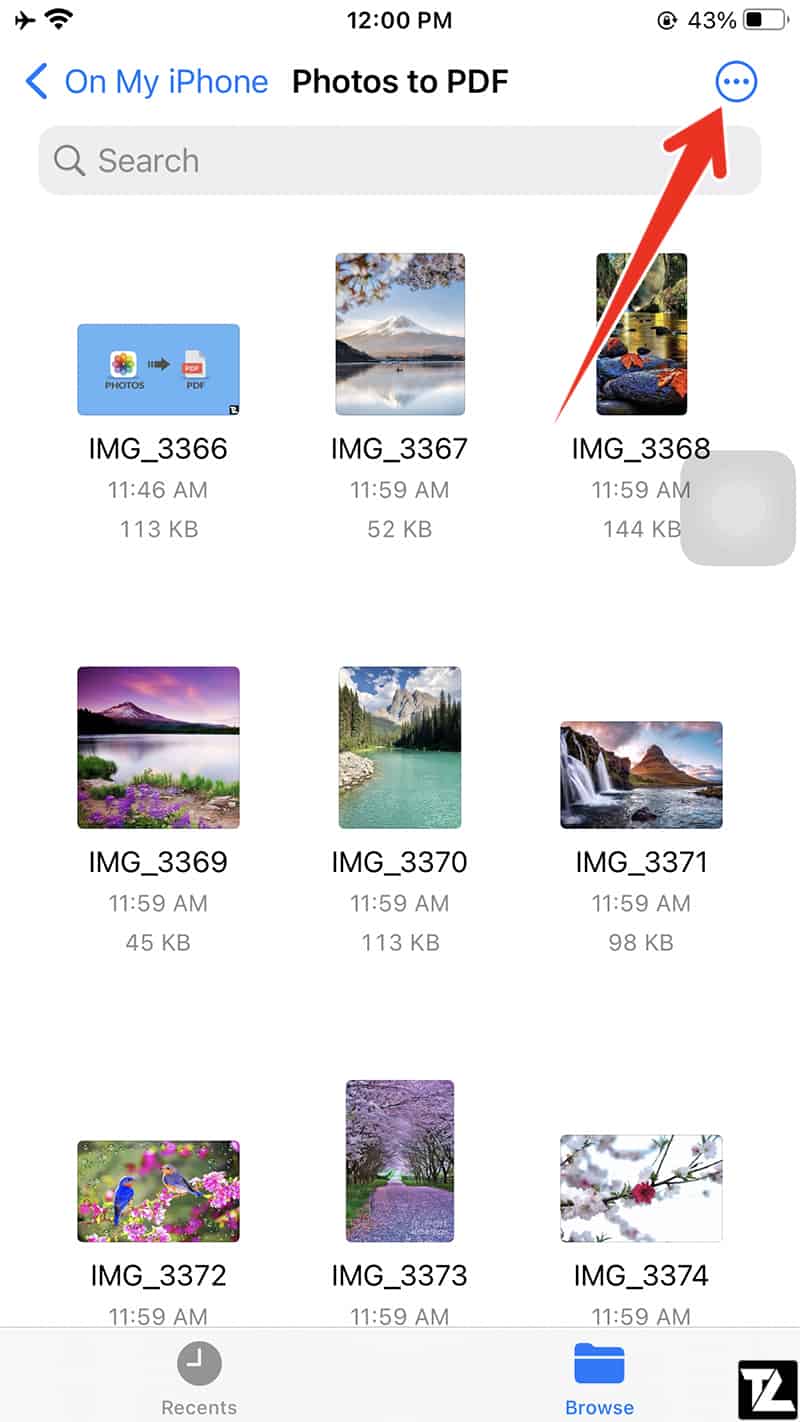
- Open the Files app and navigate to the folder where you have saved the image.
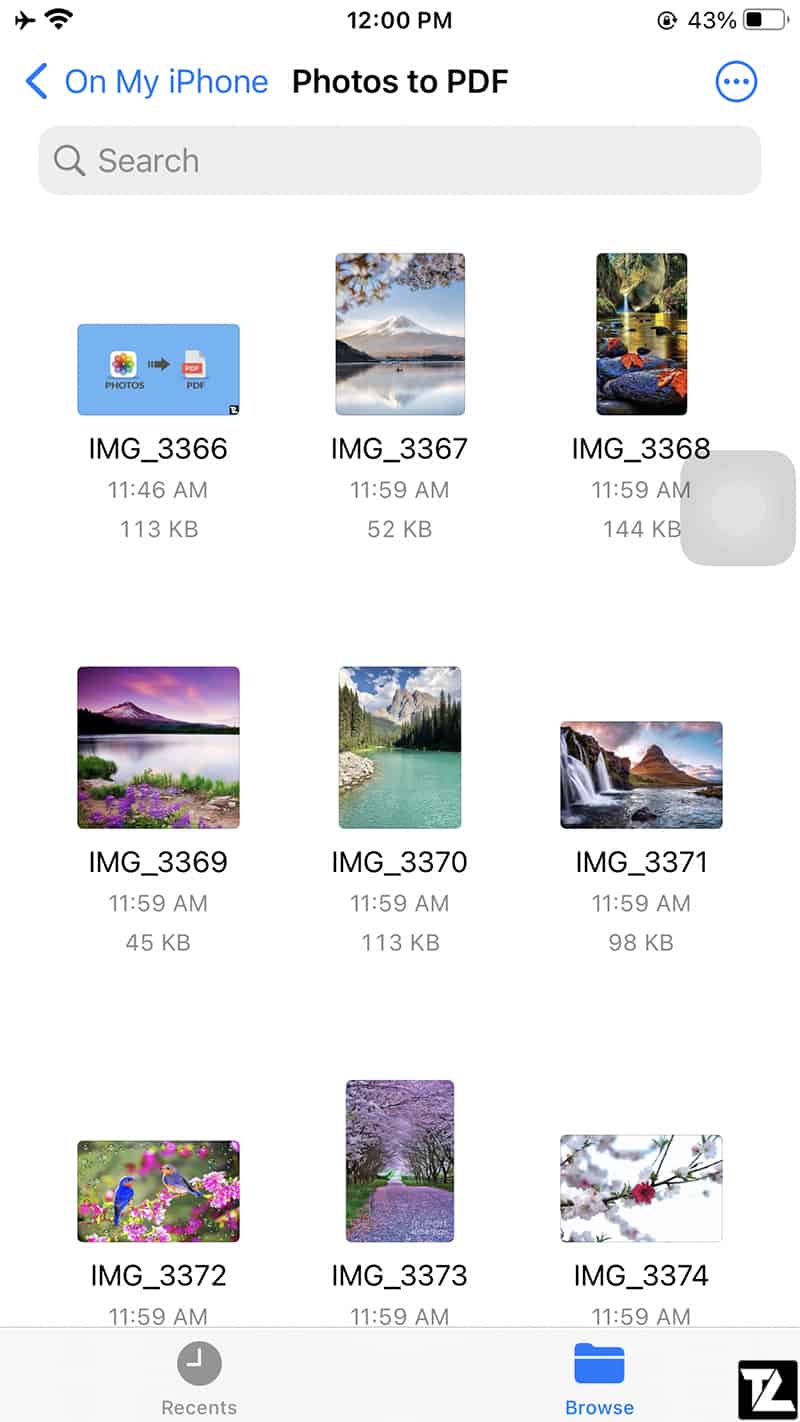
- Simply hold the image until a menu appears.
- Select Create PDF from the menu.
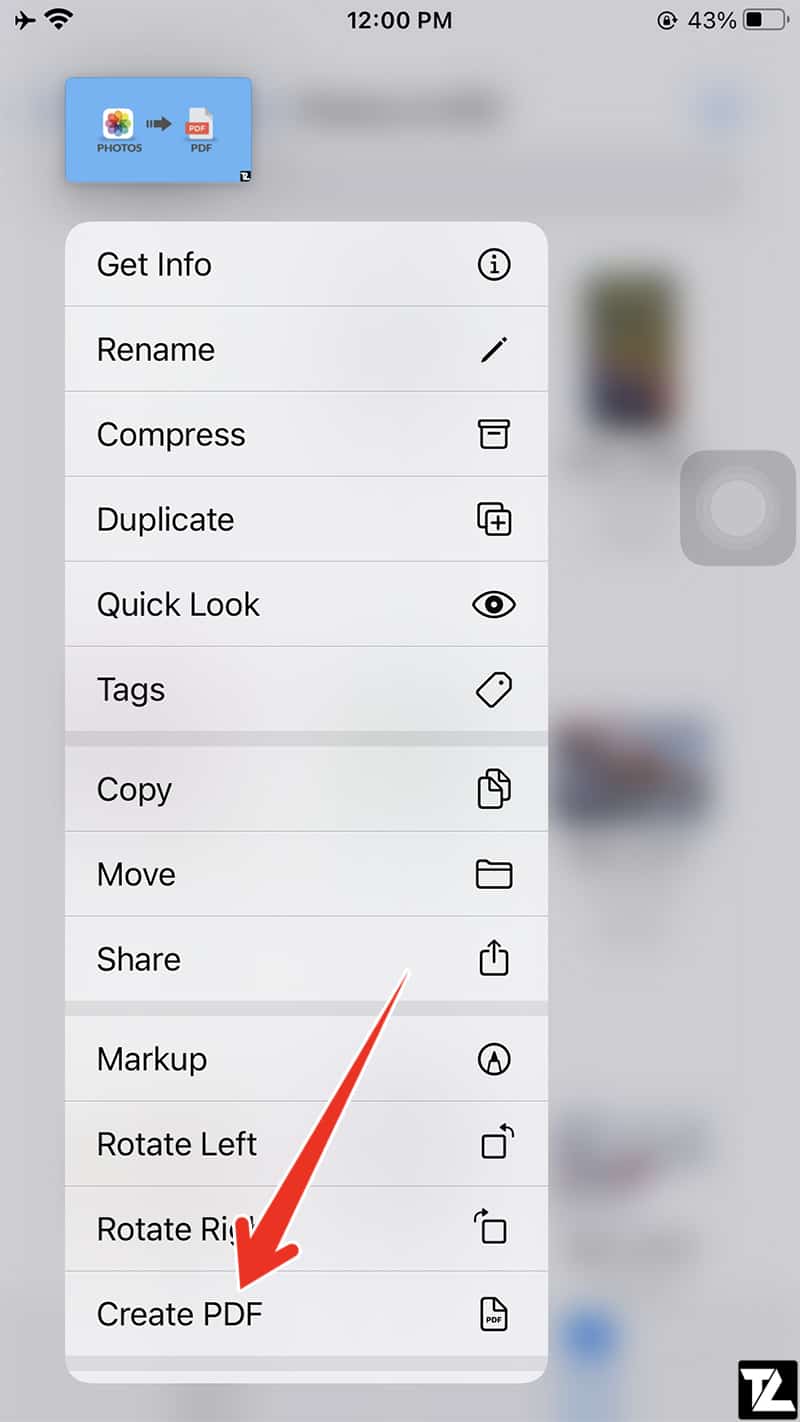
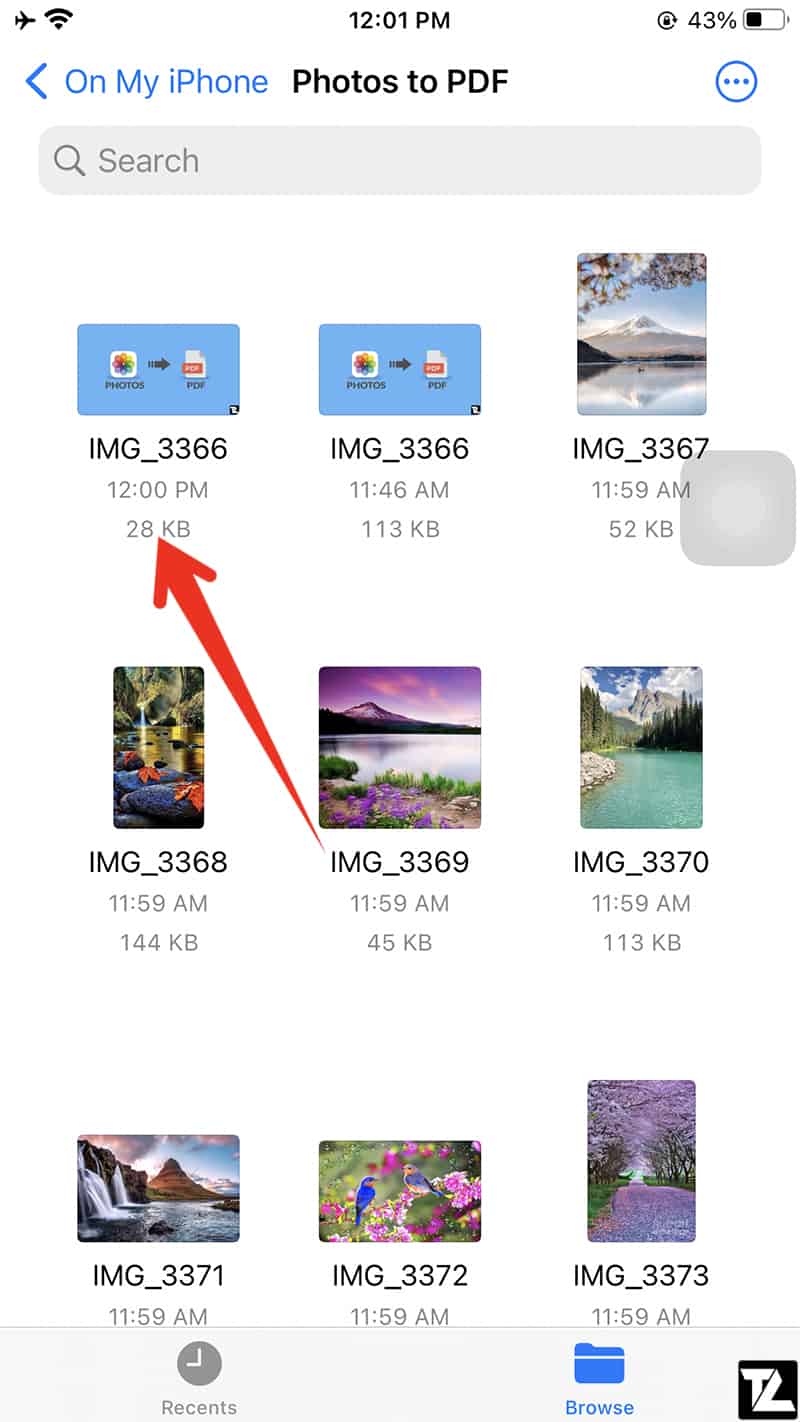
- A PDF file is created in the same folder with the selected image.
Multiple Images
The procedure involving converting photos to PDF on iPhone is a little complicated when involving multiple pictures. We believe you can do it, though!
The Files app converts multiple images in numerical or alphabetical order. However, you can rename the folder to decide the conversion pathway. It is a very convenient feature too.
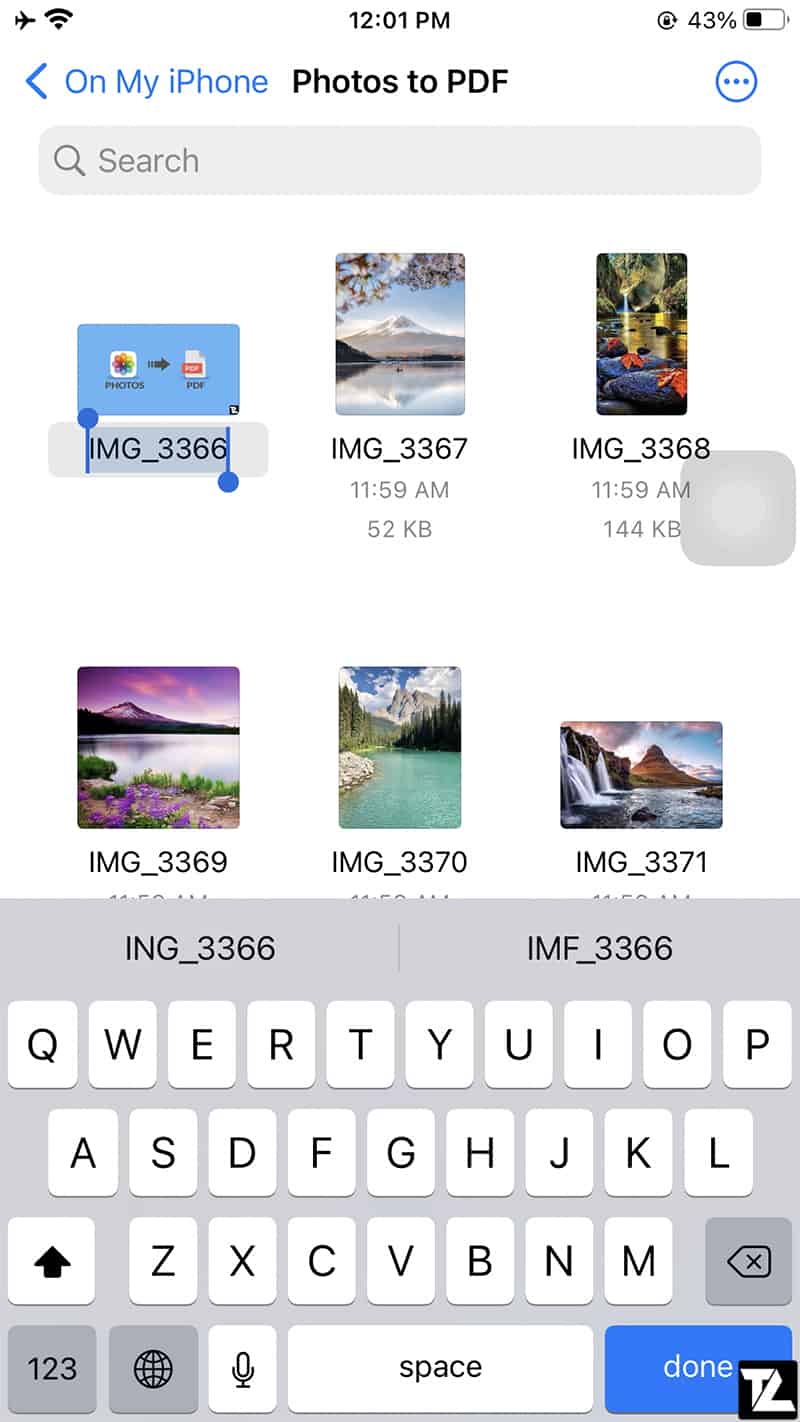
- First, rename the pictures in the order you wish for them to appear.
- Long press the picture and then click on Rename.
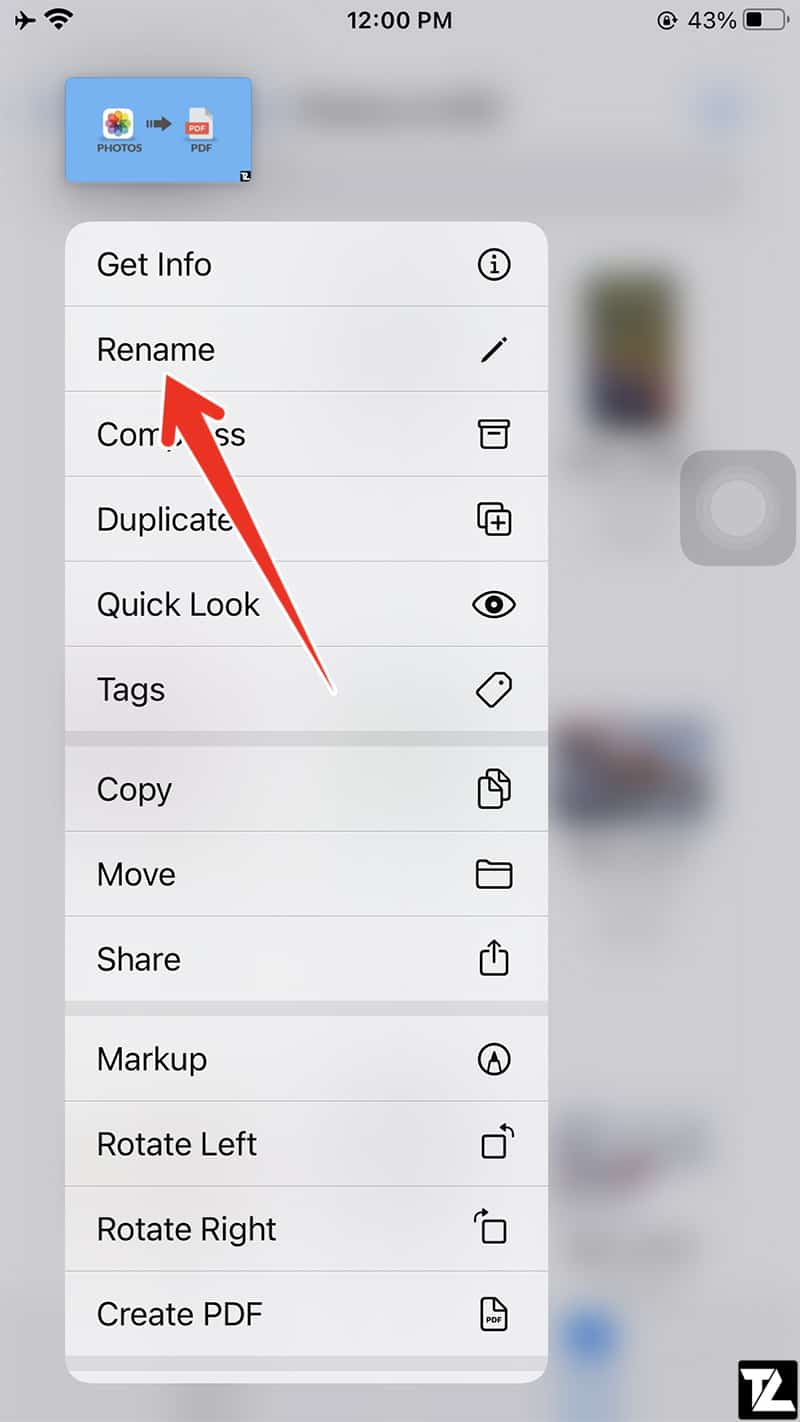
- Tap on done when you are done renaming the file.
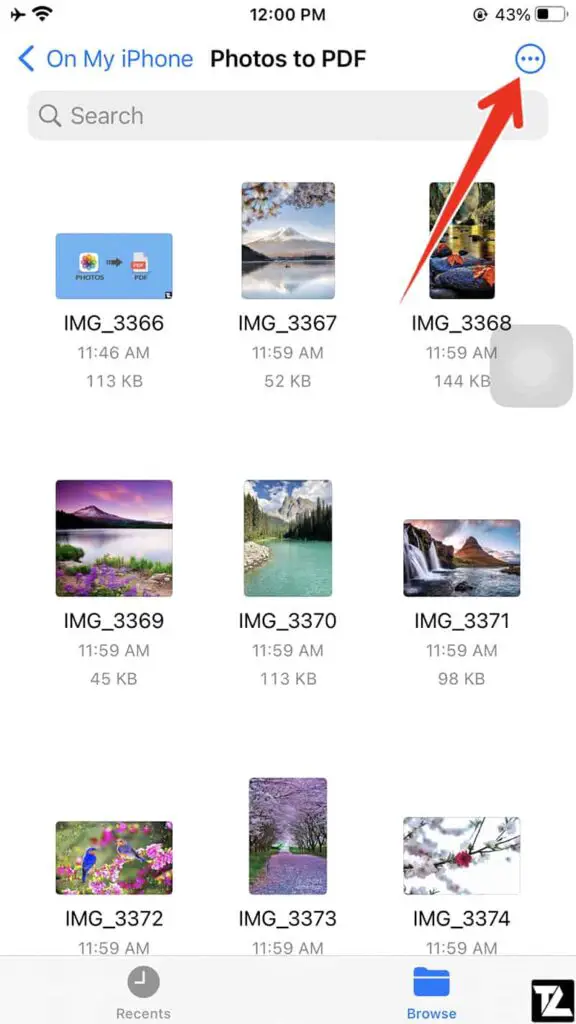
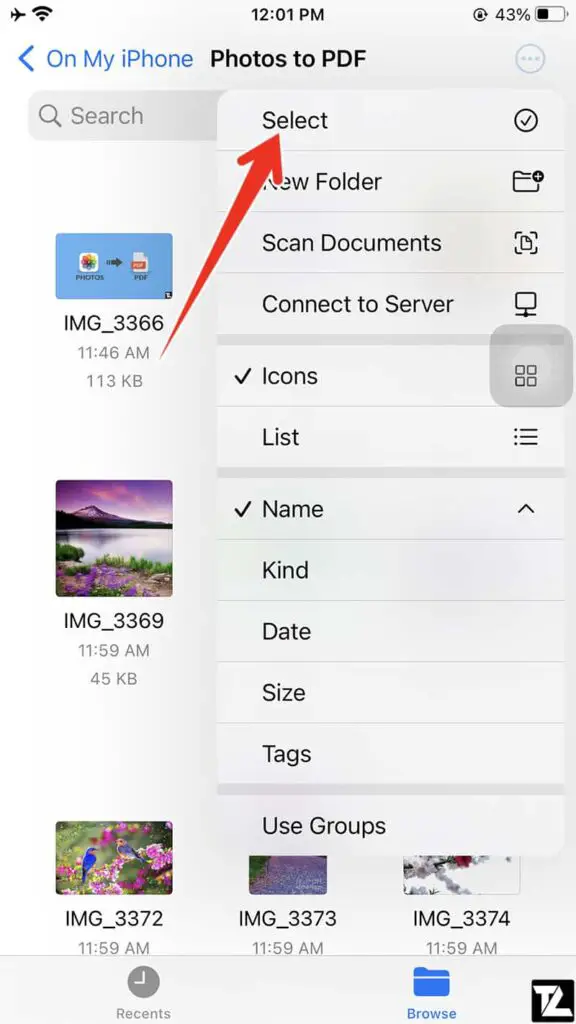
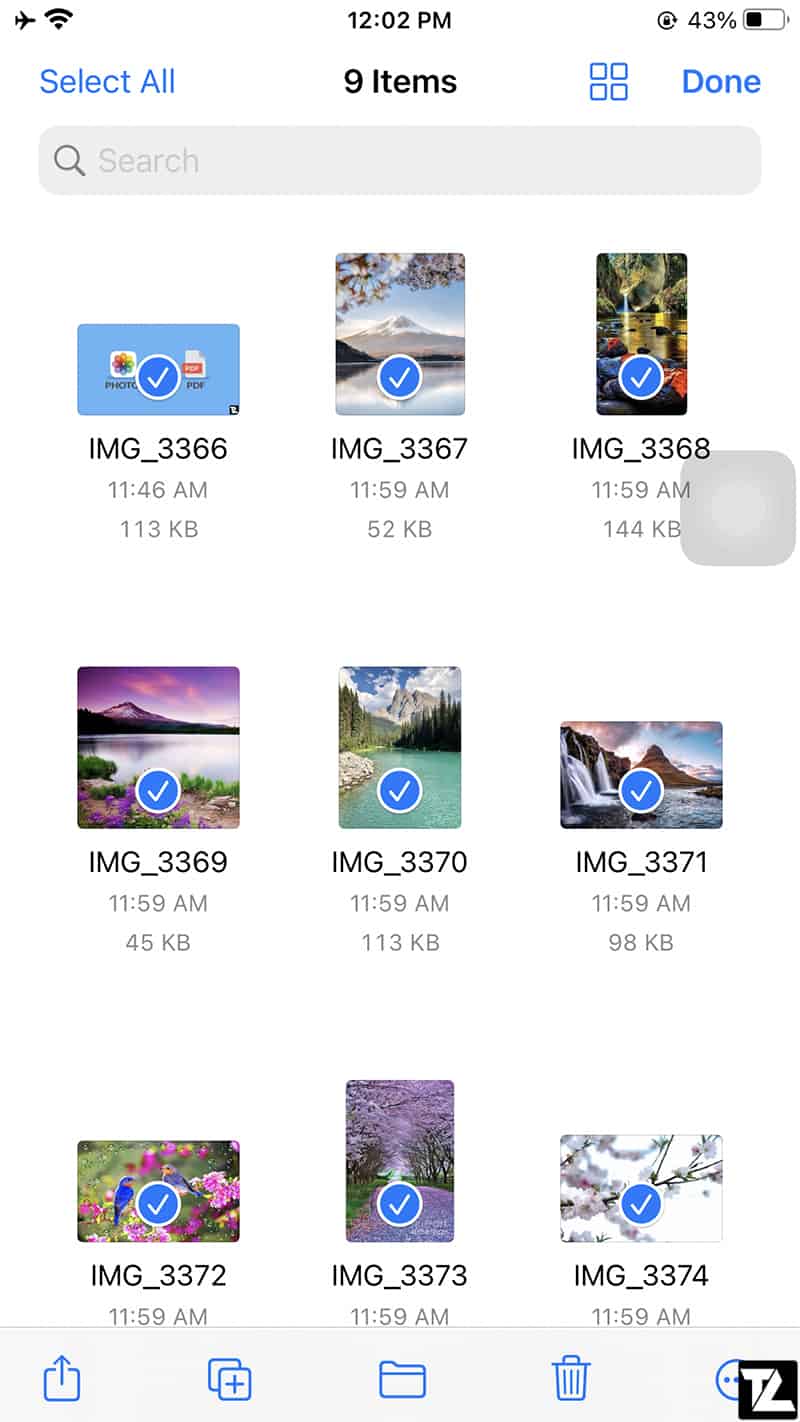
- Now it’s time to select the photos you wish to convert. Tap on the three dots from the top-right and choose Select to enter into selection mode.
- Select multiple photos that you wish to convert.
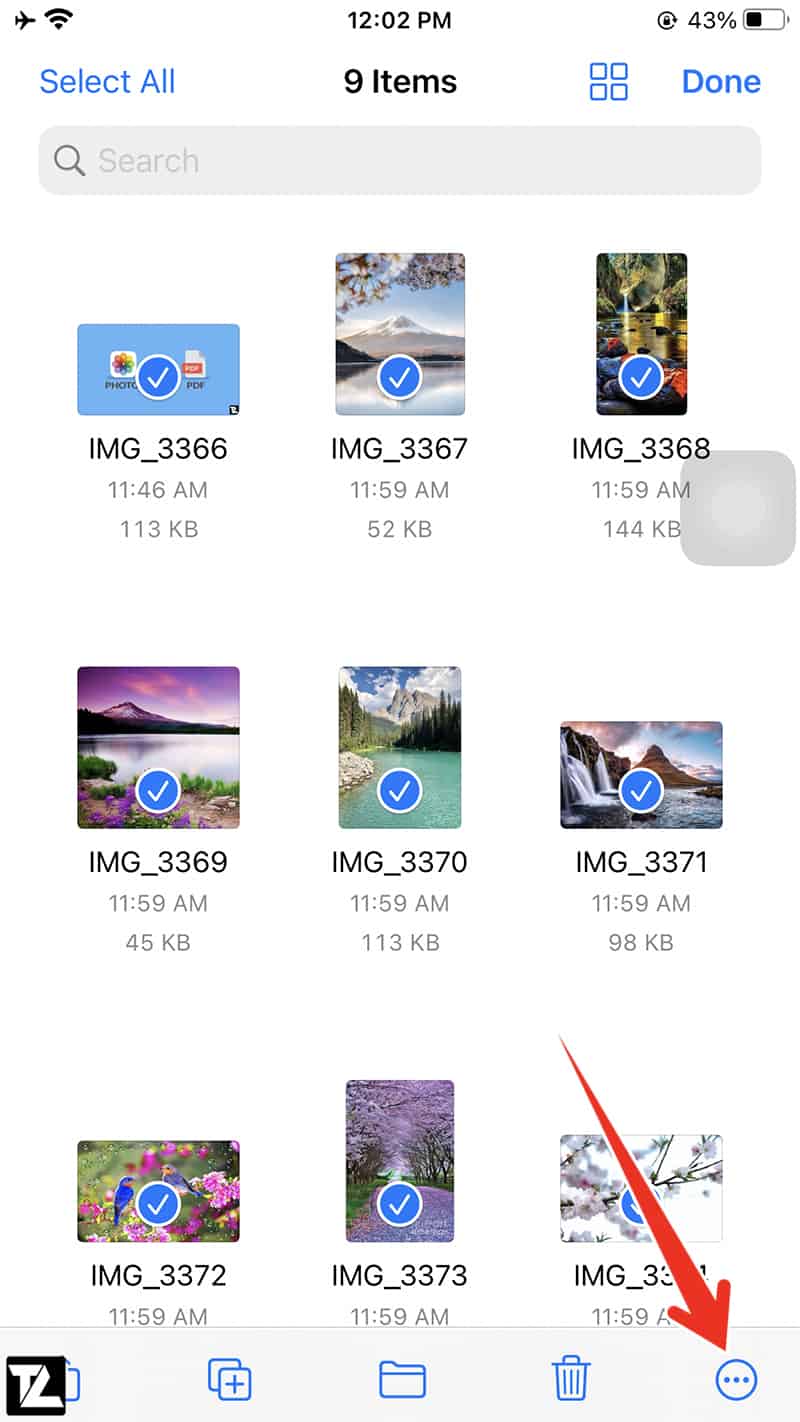
- Now tap on More (the three dots) at the bottom right of the phone screen.
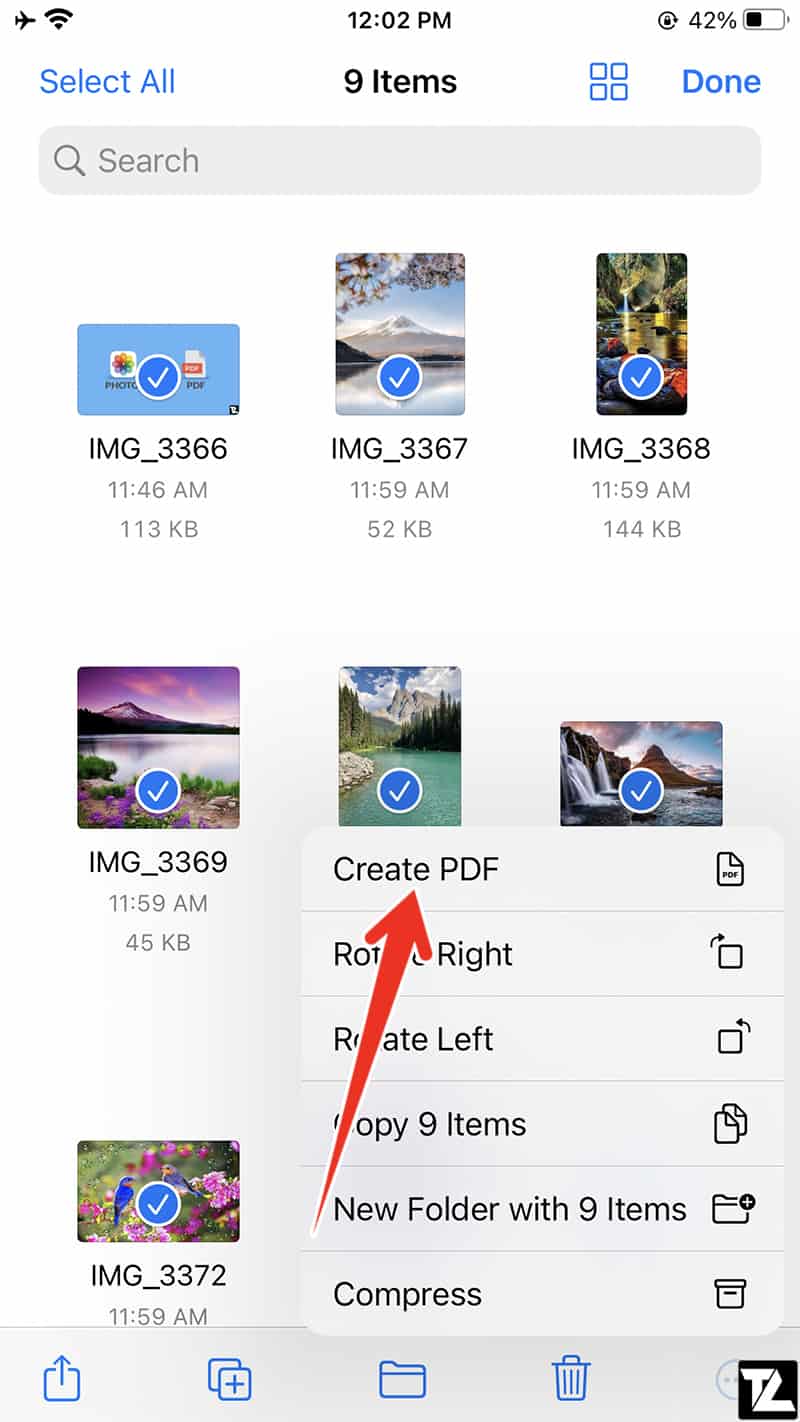
- Select Create PDF from the menu and a PDF file with the selected images is created at the exact location as the original.

Convert Photos to PDF using the Picture to PDF Shortcut for Shortcuts App
There are instances where you immediately require saving a picture in PDF format. Whether it is a legal matter or an estate negotiation, one does not always have a computer nearby. Let’s learn how to convert an image to PDF on iPhone in a neat 15-second trick. You can convert pictures to PDF on iPhone anytime and anyplace now.
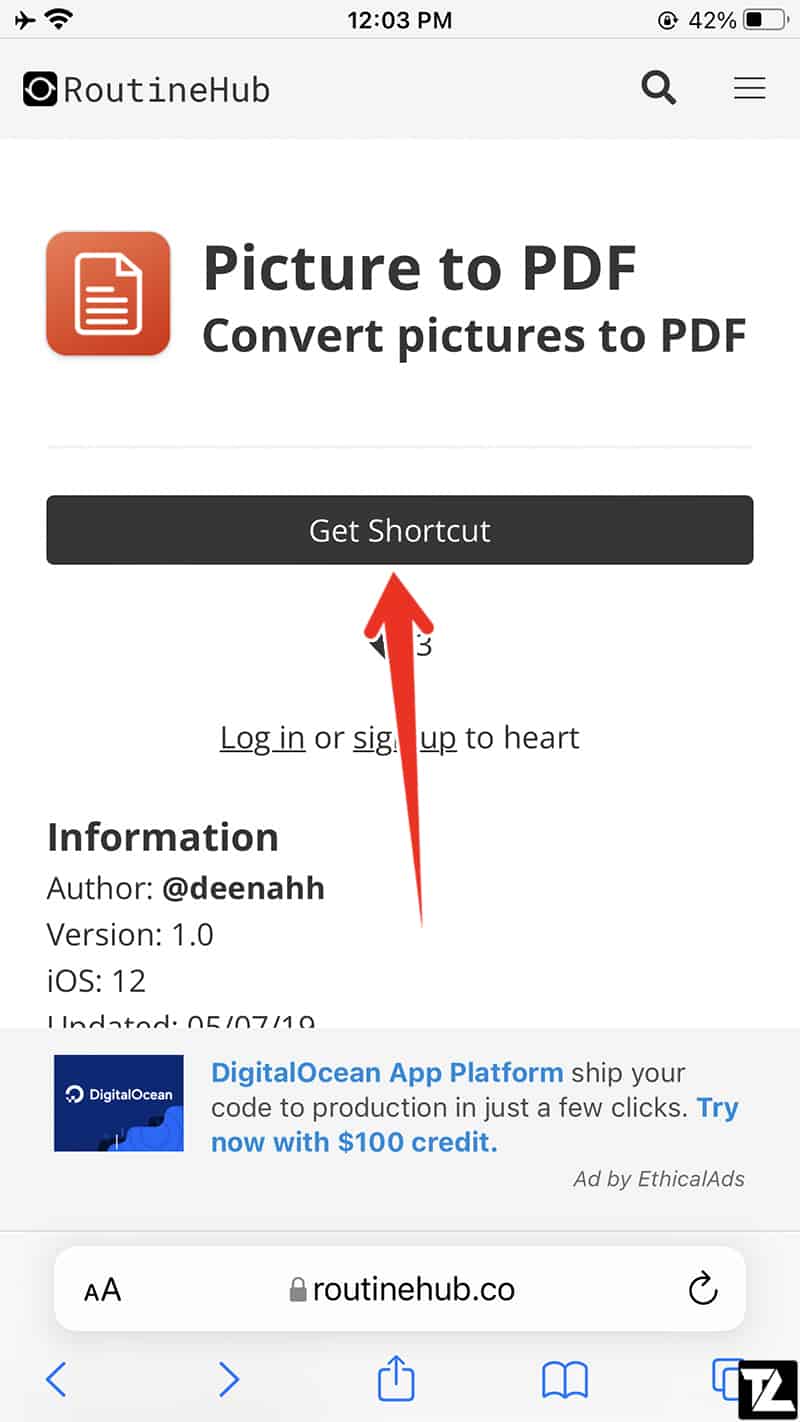
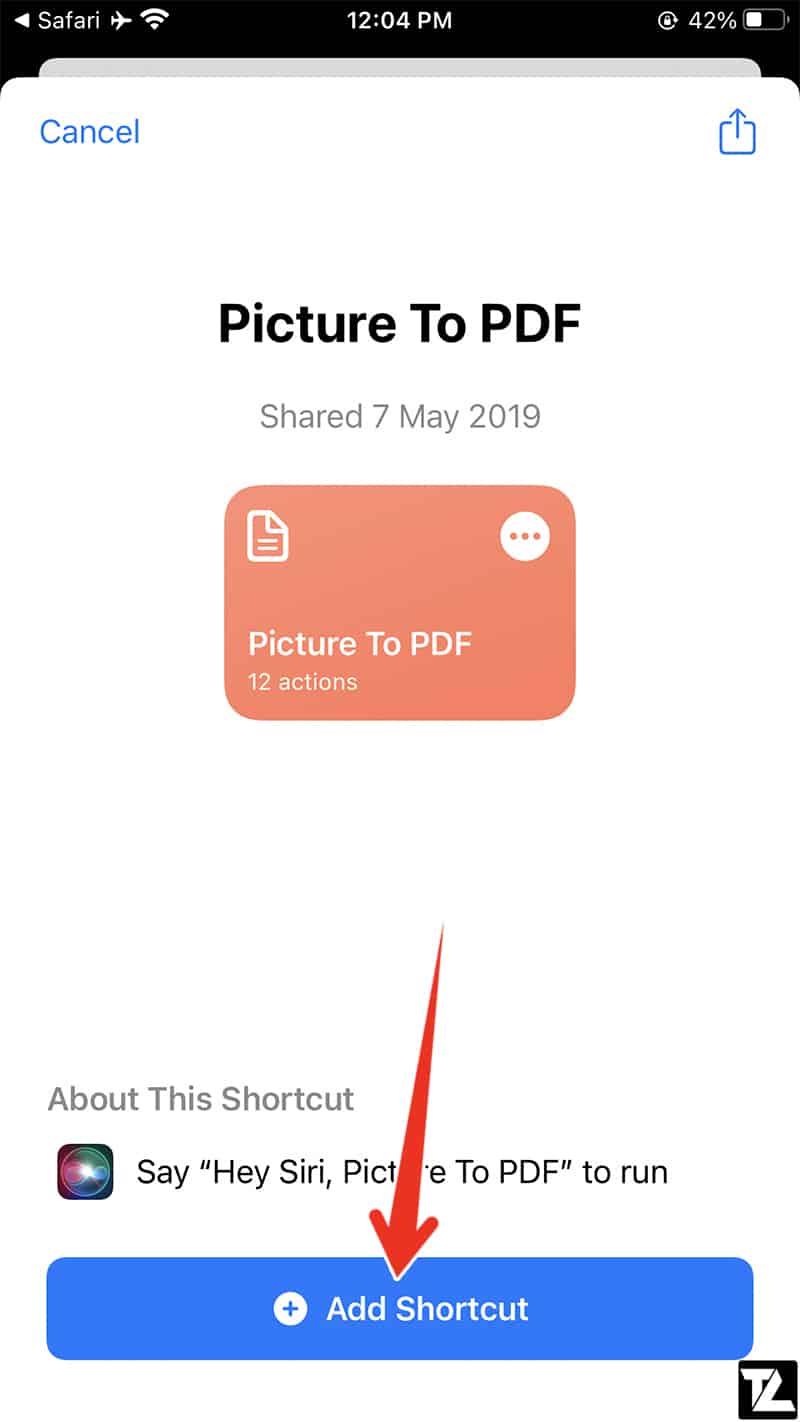
- Download Picture to PDF Shortcut and install it on your iPhone or iPad.


- Open the Shortcuts app and tap on the Picture to PDF shortcut.
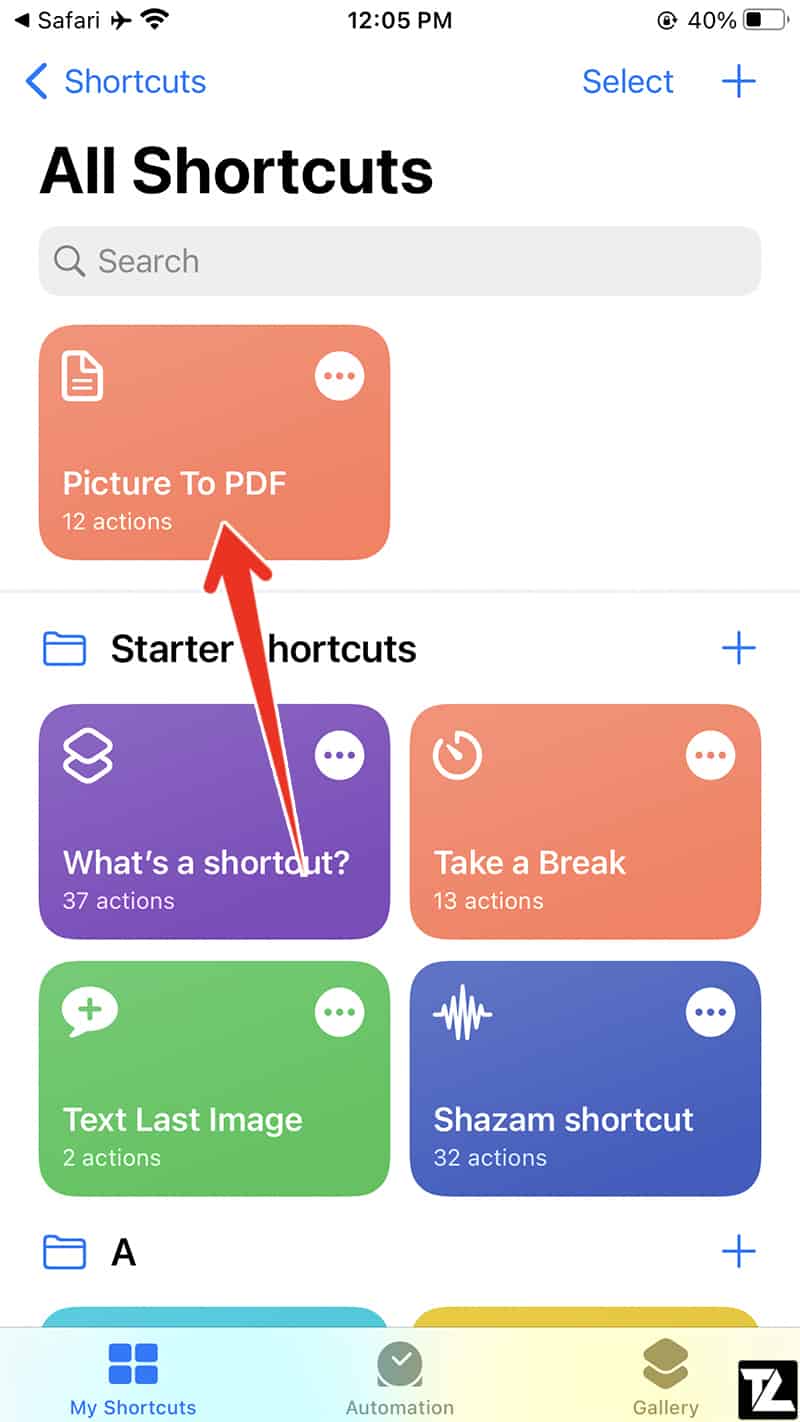
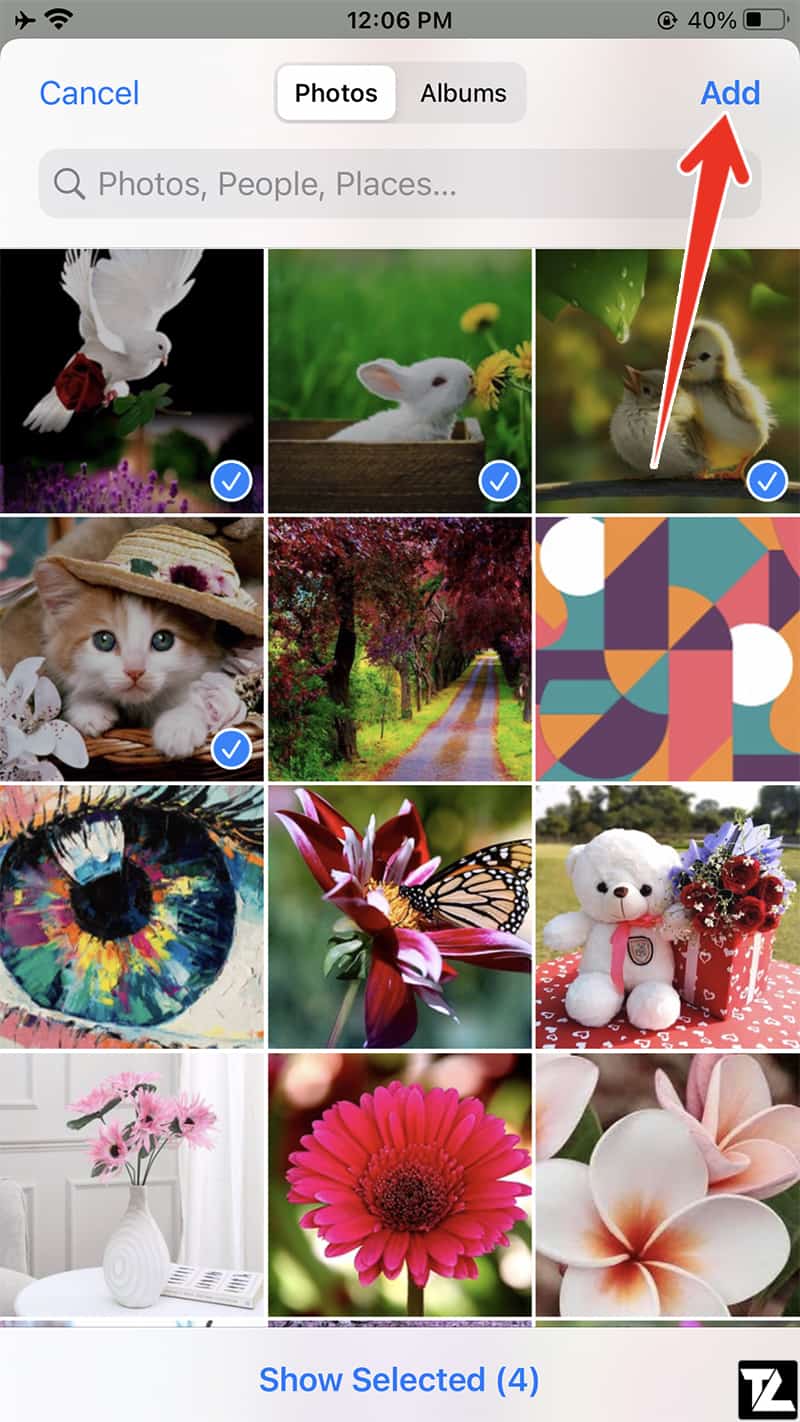
- Select the pictures you wish to convert to PDF.
- Tap on Add from the top right.
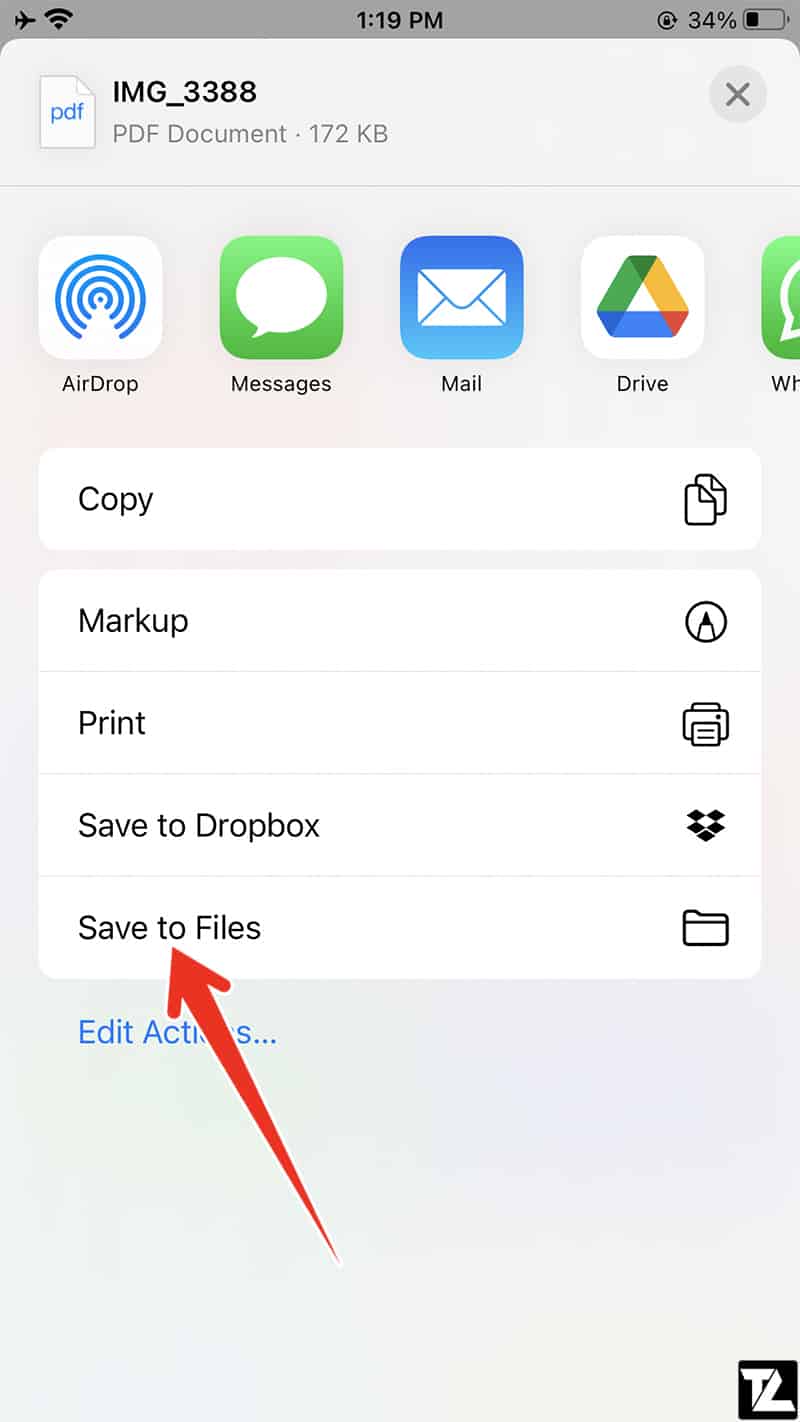
- Click on Save to Files or share the PDF with others.
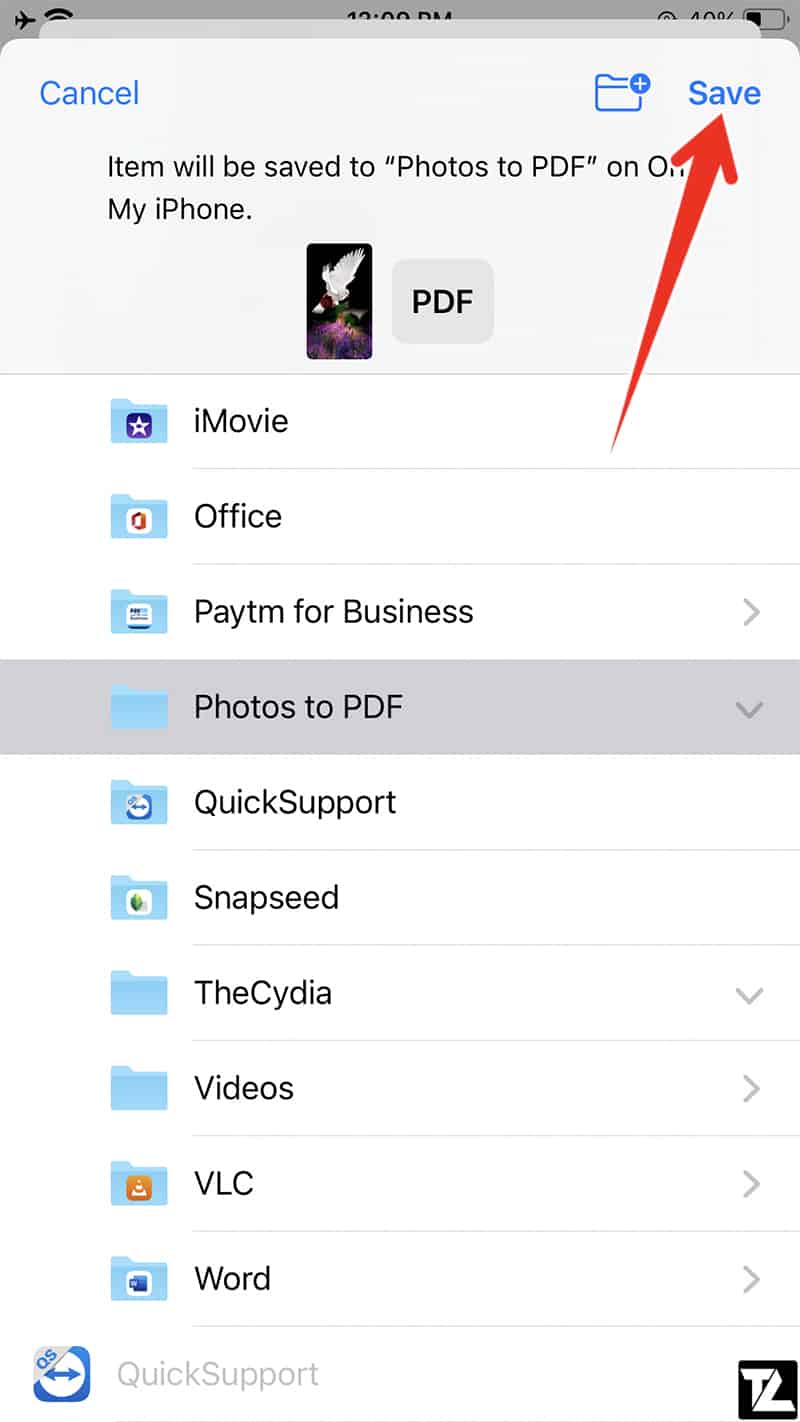
- If you choose to Save to Files, select the path where you wish to save the PDF.
- Click on Save.
Third-party App to Save Photos as PDF on iPhone and iPad
Are you searching for a reliable application that converts pictures to PDF perfectly? Download PDF Expert now and learn how to convert pictures to PDF on iPhone successfully.
Single Picture
- Download and install PDF Expert.
- Launch the PDF Expert app.
- Tap on the blue plus sign at the bottom.
- Select the photos you wish to convert. The importing feature works well with the Files app, computer, and cloud/remote storage.
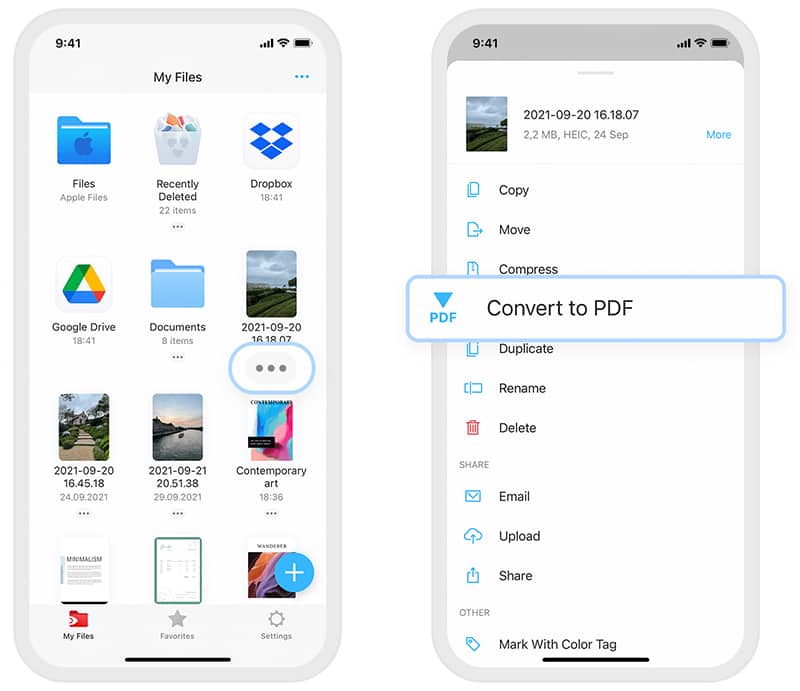
- Tap on three dots.
- Tap on the Convert to PDF option.
- That’s it. You are done.
Multiple Pictures
- Launch the PDF Expert.
- Tap on the three-dots from the top-right.
- Tap Select.
- Select the multiple pictures you wish to convert.
- Tap on More on the bottom right.
- Tap on Merge to PDF.
- That’s it!
Conclusion
The feature to convert photos to a PDF file is beneficial if you work in an environment that requires PDF documents frequently. The options work on iPhone and iPad alike, so give them a go. Assuming one option does not work, try the other.
Was this guide helpful?
Do let us know in the comment section below.
LEAVE A REPLY